NFT Rewards Contracts
To enable the rewarding of your questers with NFTs, you'll need NFTs. Here's how you deploy one.
But first, let's get familiar with ERC-1155.
We're all about efficiency here, and that's why we use ERC-1155 to create your NFTs. With ERC-1155, you can launch multiple collections from the same smart contract. Each token is endowed with a unique identifier called token ID, complete with its metadata, symbol & supply.
Now, the deployment process.
Accessing NFT Rewards Section
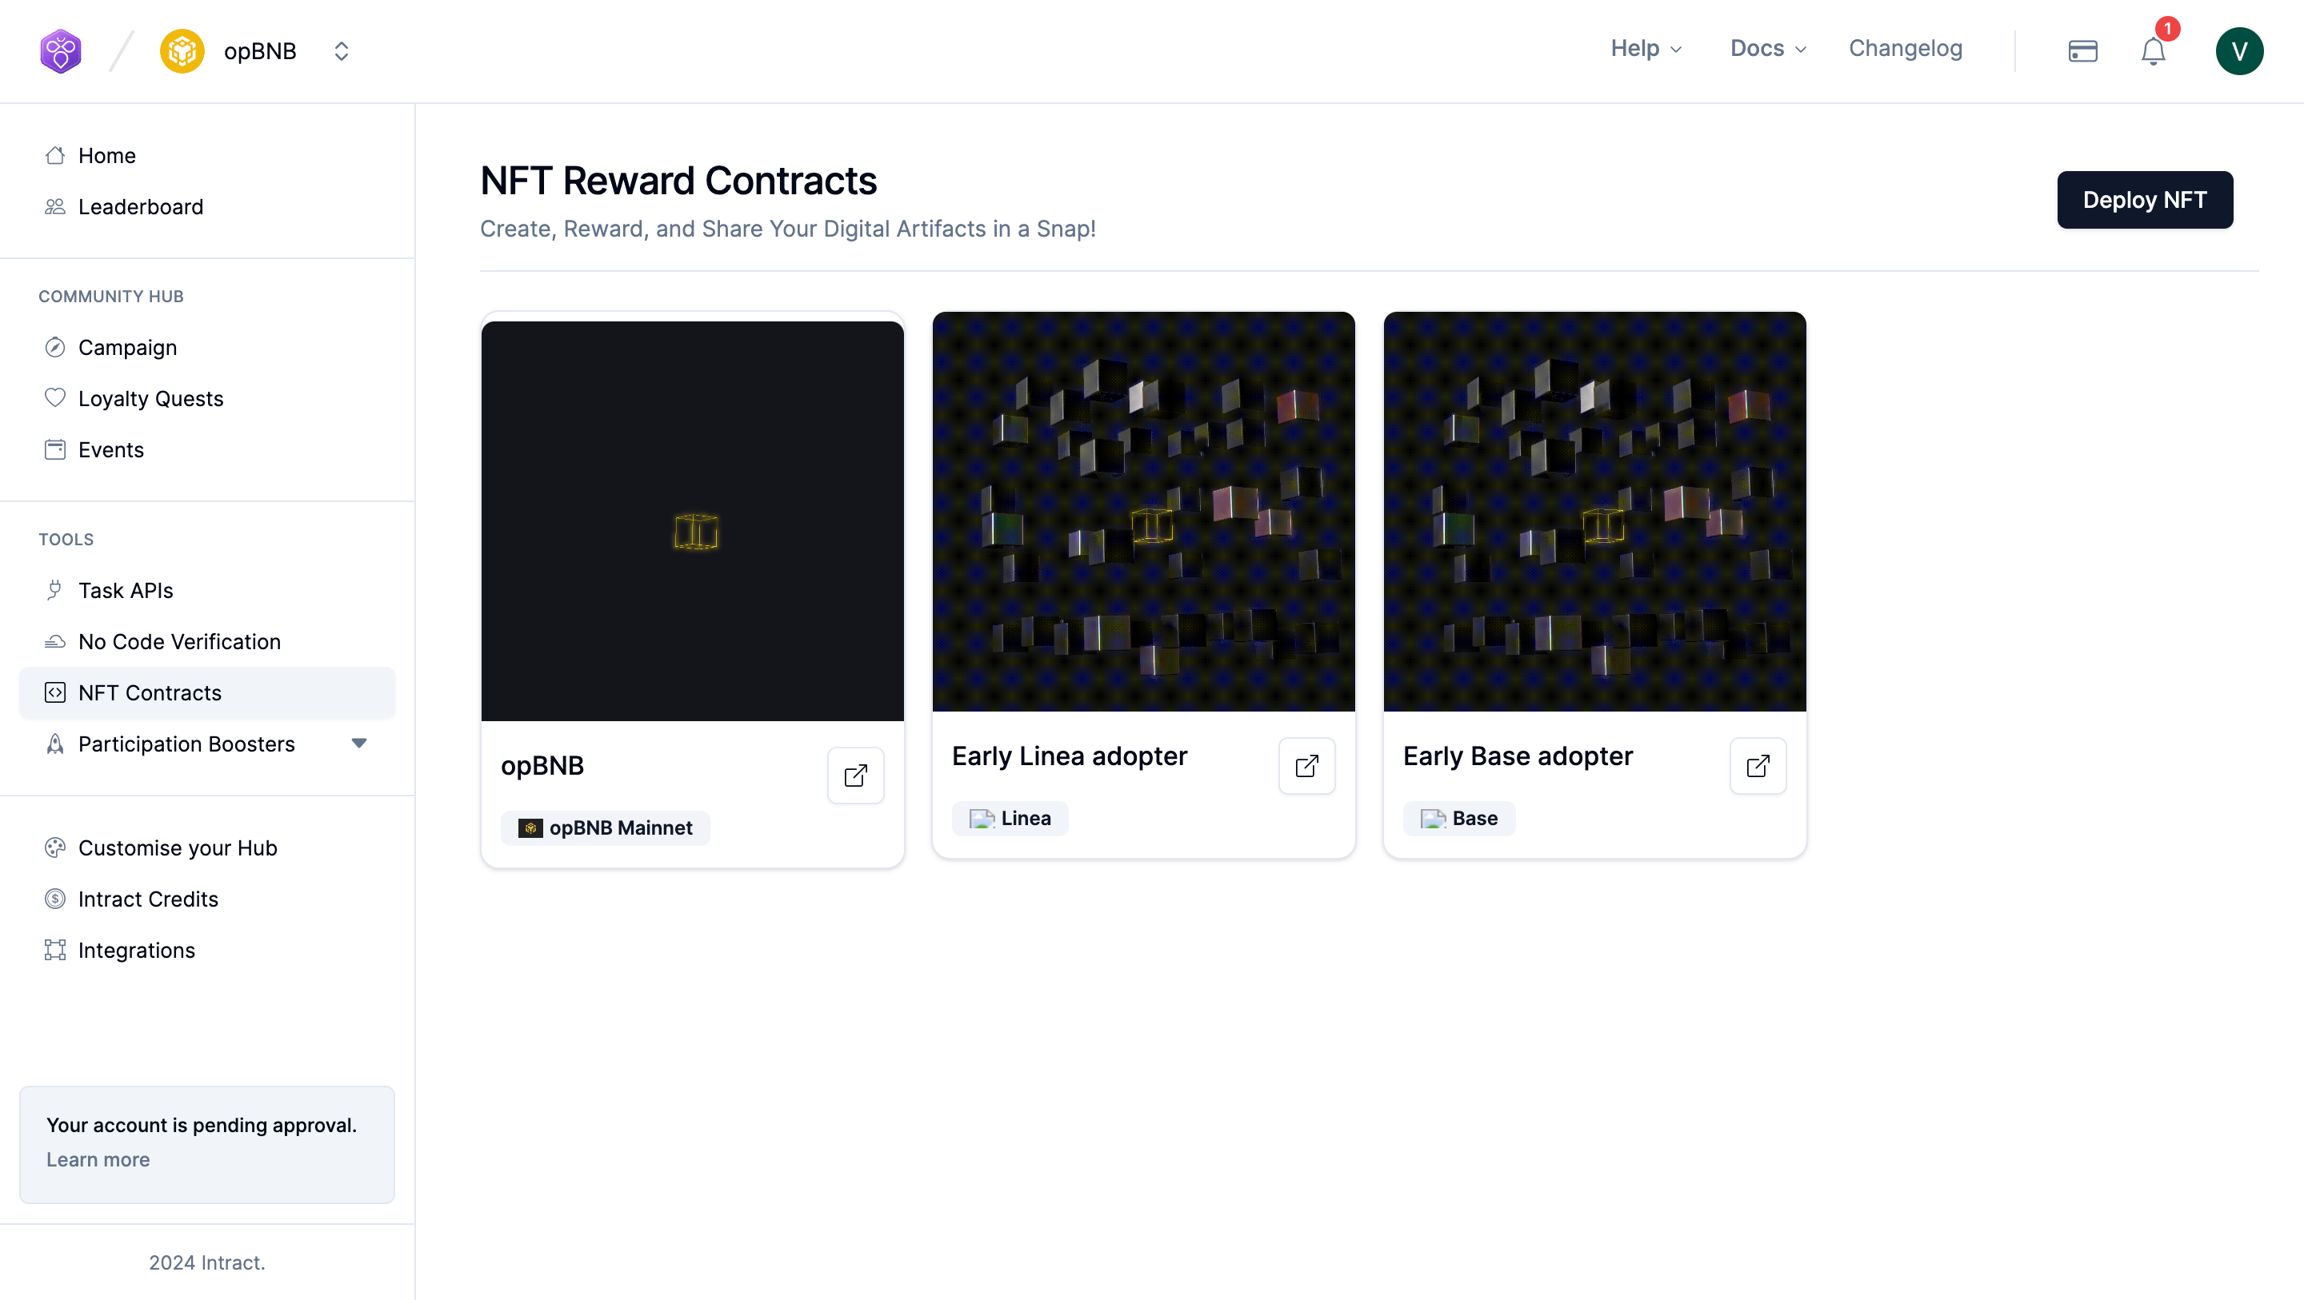
Navigate to the NFT rewards section where you can view all the NFTs you have already created. You can click on each NFT to learn more about them.

Deploying a New NFT
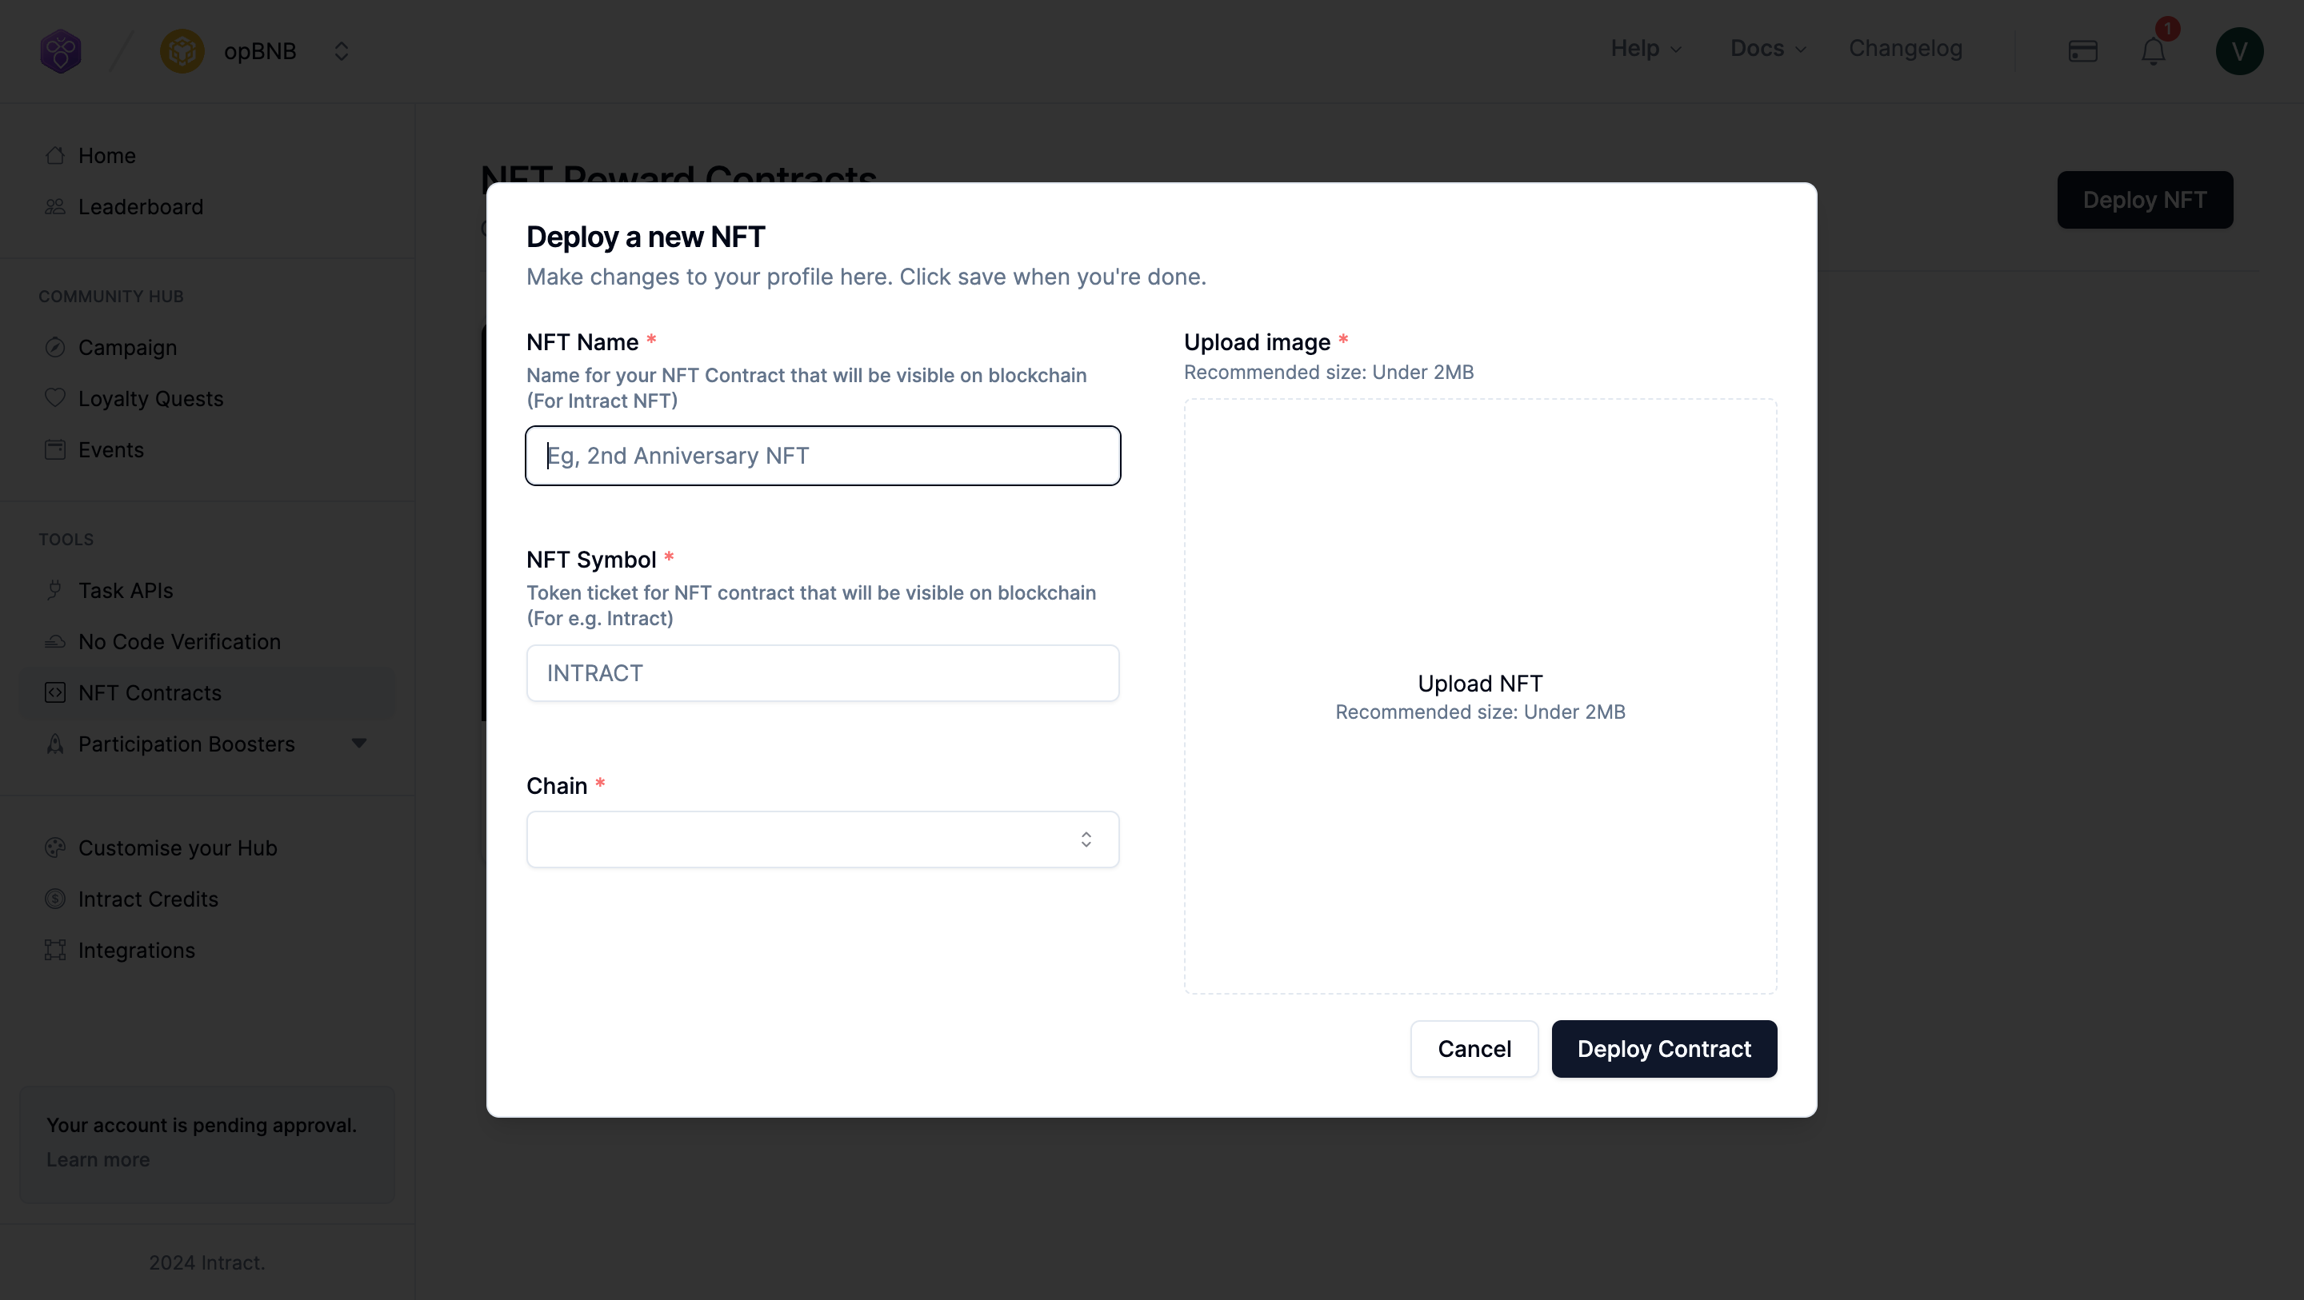
Click on "Deploy NFT" to initiate the deployment process.

Add an NFT name: This will be the name that will be visible on the blockchain.
Add an NFT symbol: Assign a symbol to your NFT.
Upload your NFT image/video: Ensure that it is of the highest quality possible. The file size should not exceed 2MB. Although the preferred aspect ratio for NFTs is 1:1, you have the flexibility to adjust the image positioning during upload. This allows you to drag and reposition the image to ensure it looks ✨aesthetically pleasing✨ within the 1:1 aspect ratio.
Finalising Deployment
After inputting the necessary details, click on "Deploy Contract" to proceed.
You will encounter a prompt asking you to connect your wallet. If so, select the desired wallet/account and proceed.
If you're on a different blockchain than the one selected, you'll receive a prompt to switch to the correct chain.
Once you've switched to the appropriate chain, you'll need to initiate a transaction to launch the NFT collection.
The associated gas fees for this transaction are minimal. Confirm the transaction to deploy your NFT on the blockchain.
By following these steps, you'll successfully deploy your NFT and be ready to reward your questers with unique tokens
Best Practices
GIF formats are preferred over video. If you can convert your videos to GIF using one pf the many tools available online. We do this because videos can be heavy to load in a lot of browsers.
Avoid deploying on Ethereum due to potentially prohibitive gas fees that users may encounter when claiming their NFTs.
Use GIFs, they're more fun.
Last updated