> For the complete documentation index, see [llms.txt](https://docs.intract.io/llms.txt). Markdown versions of documentation pages are available by appending `.md` to page URLs; this page is available as [Markdown](https://docs.intract.io/product-guide/community-hub-guides/integrations/discord.md).
# Discord
If you're using Discord roles as rewards for completing quests, it's essential to integrate your Discord server with our system. Here's how to do it:
### 1. Connecting to Discord:
* Simply click on "Connect to Discord" to start the process.
* To authenticate your community Discord and connect your account, ensure that you have "Manage Server" permissions.
* Select the server you want to add the bot to and then click "Continue".
* Make sure to check the box asking you to give Admin access to your Intract bot. You'll need it to help make use of this!
Step 1: Connect your community Discord
### 2. Confirm Imported Channels
Once you've given Admin access to your bot to help manage the server, choose the channels that you want us to import for you.
Step 2: Confirm imported channels
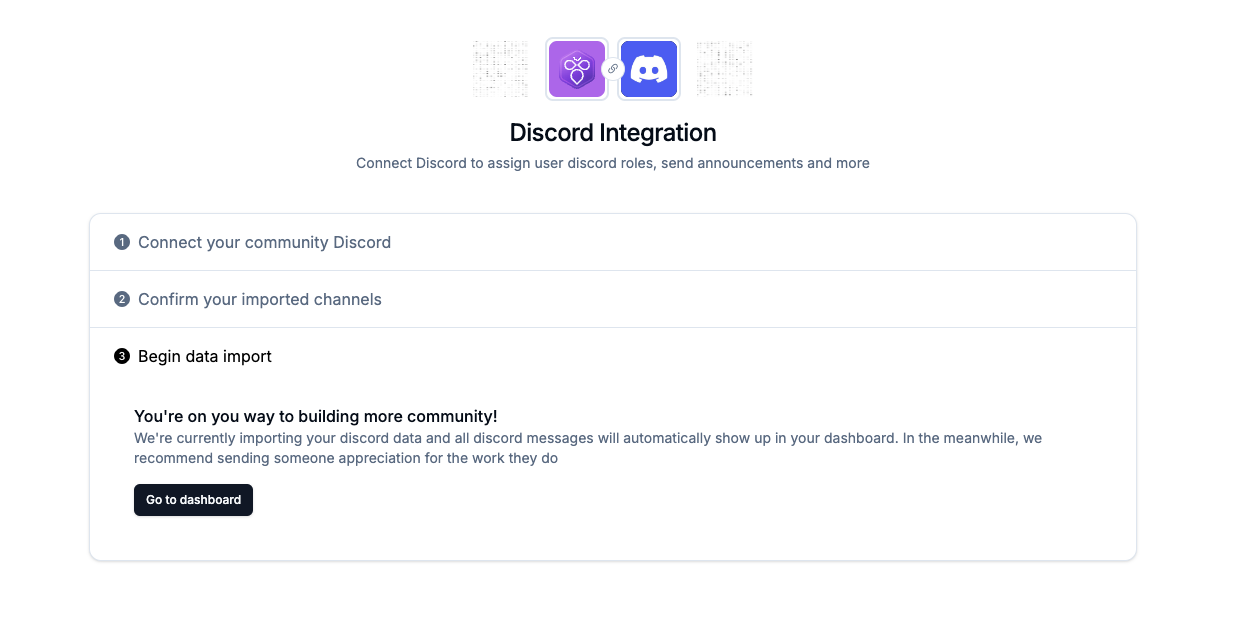
### 3. Begin Data Import:
We'll import your data for you in a jiffy, and you'll be good to go to set up Discord tasks and rewards for your campaigns!